Mechanical keyboards are well known for their long lifespan, thanks to their superior and more complex build. Many keyboards, even the first generation ones produced in the late 1980s and early 1990sm, are still actively being used. But with that said, their lifespan can further be increased by regularly cleaning and maintaining them.
Cleaning keyboards is a relatively simple task. All you really need are a few common tools, such as a microfiber cloth and a vacuum cleaner. You can clean mechanical keyboards without taking off the keycaps, but they can also be easily taken apart for deep cleaning if needed.
Fortunately, cleaning and maintaining a mechanical keyboard isn’t too complicated, and anyone can do it as long as they have the necessary tools and discipline. In this article, we will be discussing some of the most common ways to clean mechanical keyboards. We will be discussing both light cleaning and deep cleaning solutions. And by the end of this article, our readers should be completely prepared in handling their mechanical keyboards.
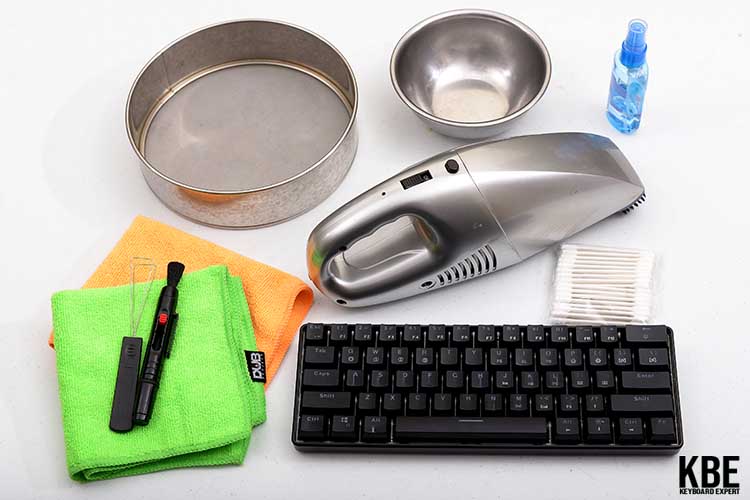
Tools Needed For Cleaning Mechanical Keyboards
- Keycap Puller
- Microfiber Cloth
- Soft Brush
- Anti-Static Vacuum Cleaner
- A Container or Bowl
- Strainer
- Cleaners (Dishwashing Detergent But Preferably Denture Tablets)
- Q-tips/Cotton Swab
- Warm Water
- Isopropyl Alcohol (optional)
- Lubricant (optional)
How to Clean Mechanical Keyboard Without Removing Keycaps
Disassembling a keyboard for cleaning can seem like a tedious or daunting task. Fortunately, you can clean mechanical keyboards even without disassembly, and here’s how to do it.
- Turn the keyboard upside down and give it a little tap to let any dirt fall out.
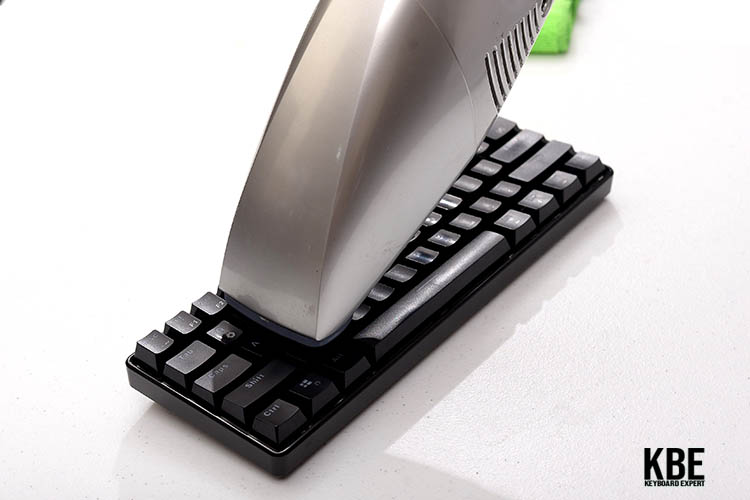
- Use a handheld vacuum to clean any surface dirt on your keycaps. You can also use this tool to get rid of the dirt between the keycaps. It is recommended to use an anti-static vacuum to avoid potential damage to the keyboard’s electronics.
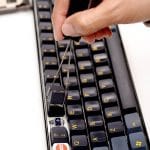
- Use a damp microfiber cloth, either using water or diluted isopropyl alcohol, to wipe the surface of the entire keyboard.
- Use another dry microfiber cloth to dry all the remaining wet areas of the keyboard. Try not to use any paper towel since it will leave particles and fibers on the keyboard.
Mechanical Keyboard Deep Cleaning
For newly bought mechanical keyboards, light cleaning should be enough. However, for older mechanical keyboards that haven’t been cleaned in quite some time, there is a chance that dirt has accumulated inside. For these cases, deep cleaning via disassembly is required, and here’s how to do it.
Unplug the Keyboard
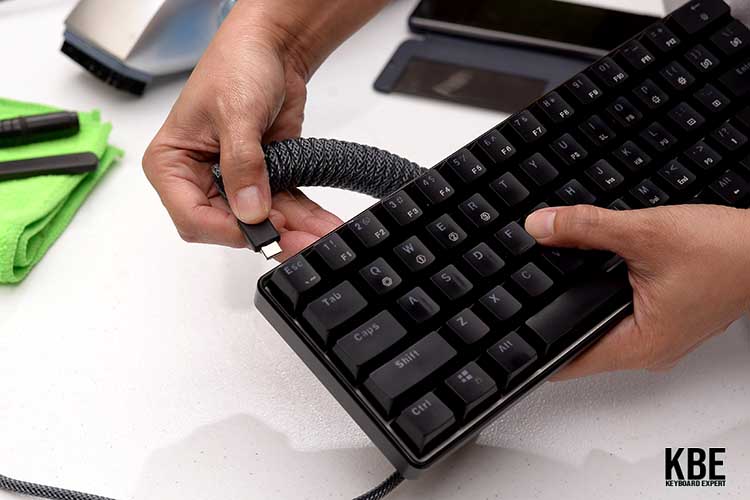
Before starting the cleaning process, ensure that your mechanical keyboard is unplugged. If your keyboard features a detachable cable, we highly suggest removing it as well, and this will ensure that you do not accidentally damage any electrical component.
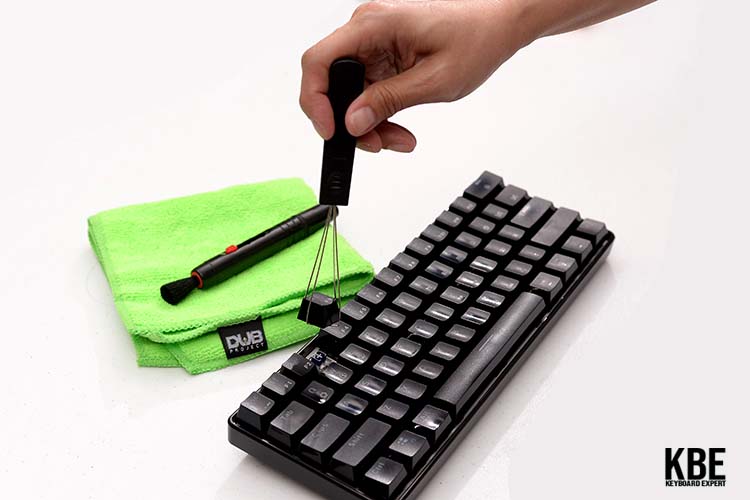
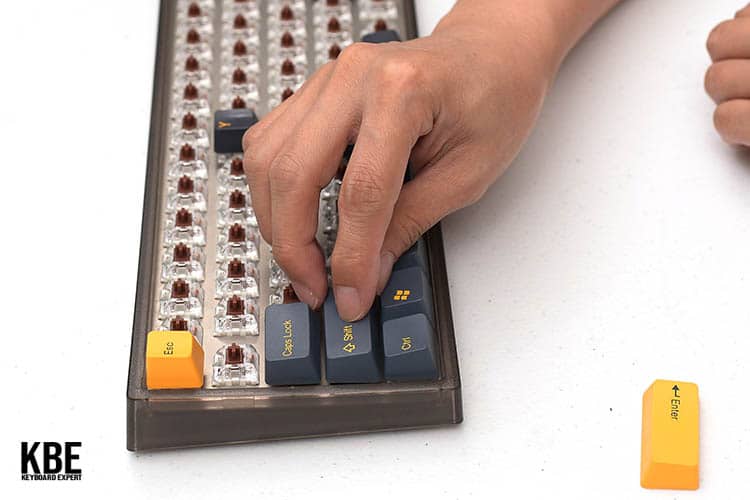
Remove the Keycaps

The next step is to remove the keycaps. We highly recommend using a wire keycap puller to prevent damage to the keycaps. However, if you are dealing with keycaps that you are willing to lose, you can also try using a plastic keycap puller. They usually come with most keyboards and keycap sets.
Taking off the keycaps is a relatively straightforward process. Just use minimal force and do not pull the keycaps at strange angles. You can read out our full Keycap Removal Guide for more detailed steps.
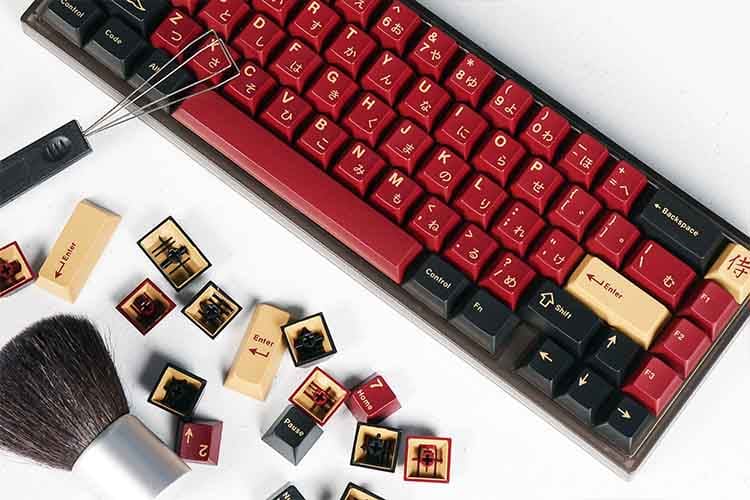
Remove the Keyboard Switches
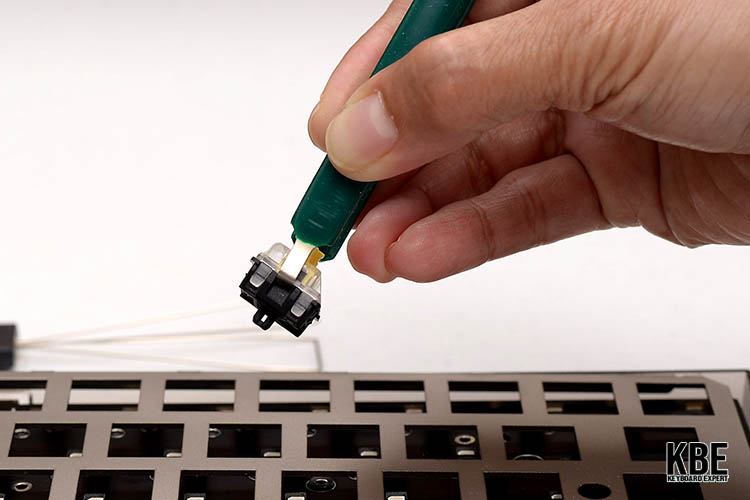
Some mechanical keyboards offer hot-swap sockets that allow you to take off the switches. Taking off the switches isn’t always required. However, if some dirt or debris is stuck between the keys, this step is a must.
Just like with taking off keycaps, this process is relatively straightforward. Just use a switch puller to pull off the switches gently. You can consult our full Switch Removal Guide for more information.
Take note that not all mechanical keyboards feature hot-swap sockets. Make sure to check your keyboard model if it has one. Otherwise, pulling switches from a soldered keyboard can potentially permanently damage your keyboard.
Clean the Keyboard Plate
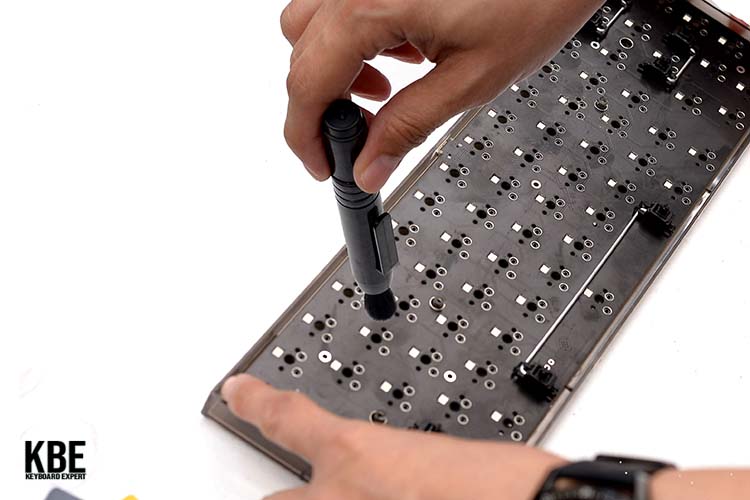
After removing the keycaps, the plate will be exposed. Most of the dust and dirt will be in this area. Use a soft brush to remove small particles. You can also use tweezers to remove larger particles or stuck hairs that might have gotten caught on the switches.
Next, use a handheld vacuum cleaner to remove any remaining particles. If there are persistent marks on the plate, you can use a Q tip with a bit of water or diluted alcohol. You can also use a damped microfiber cloth for this step.
Dry the Keyboard
Before putting the entire keyboard back together, make sure that the plate is dry. Use a microfiber cloth to wipe down any parts cleaned using isopropyl alcohol. Once the interior of the keyboard is dry, it is time to put the entire thing back together.
Reinstall the Switches and the Keycaps
The rest of the reassembly process is relatively straightforward. Attach the mechanical keys you have removed, then test them using tools such as VIA Configurator. If some keys are no longer working, reattach them and ensure that the pins aren’t bent. Install the keycaps to finish the cleaning process once all the switches are confirmed to be working.
How to Clean Mechanical Keyboard Keycaps
Aside from the interior of the keyboard, the keycaps can also accumulate dust and dirt through normal usage. It is usually a good idea to clean them now and then, and a good time to clean them would be during deep cleaning sessions since they have to be removed from the keyboard.
In most cases, light cleaning should be enough for the keycaps. Wipe off the sides using a microfiber cloth. You can check if the keycaps are fully cleaned by illuminating them via flashlight or other bright light sources.
If your keycaps need deep cleaning, then you can wash them via warm water and dish soap. First, gather all of your keycaps in a container with warm water and dish soap. Mix the dish soap with warm water for 30 seconds, then put your keycaps in the solution.
Let the keycaps sit for at least 30 minutes to allow any grease or dirt to break down. Once you are done, dry the keycaps with a microfiber cloth. It should take keycaps about an hour to be fully dry.
How to Clean Mechanical Keyboard After a Spill
The worst thing that can happen to any mechanical keyboard is a spill, and this is why most enthusiasts and gamers tell consumers not to put any liquid close to their keyboard. But sometimes, it happens, so we must learn what to do during these instances.
The first thing that you need to do is to unplug your keyboard. Then, turn it upside down to drain out as much liquid as you can. Next, clean up the spill with dry towels or a microfiber cloth. Avoid spreading the liquid to other keyboard parts during the cleaning process.
Follow the deep cleaning steps that we laid out earlier. For keyboards with a hot-swap PCB, make sure to take out the switches. And if possible, try to disassembly the keyboard to isolate the electronics.
Make sure that the keyboard is fully dry before plugging it in again. Avoid doing any tests if you are not sure if the keyboard is fully dried.
In most cases, your keyboard should be fine. But in an event where the electronics stop working properly, take it to your local retailer. If your keyboard is a custom keyboard, you can also order a brand new PCB.
How Often Do You Need To Clean Your Mechanical Keyboard?
Cleaning your mechanical keyboard should be done regularly, and cleaning dust and clearing debris is ideally done every day. On the other hand, deep cleaning isn’t always required, but if you want to increase the longevity of your keyboard, we suggest you do it at least once a month. This is to prevent any wear and tear that can happen when the keyboard is always being disassembled.
The KBE team is dedicated to sharing our knowledge and creating useful resources about computer keyboards. This article was written as a team collaboration, combining our knowledge and years of experience using, building and modding keyboards. Meet the team here.