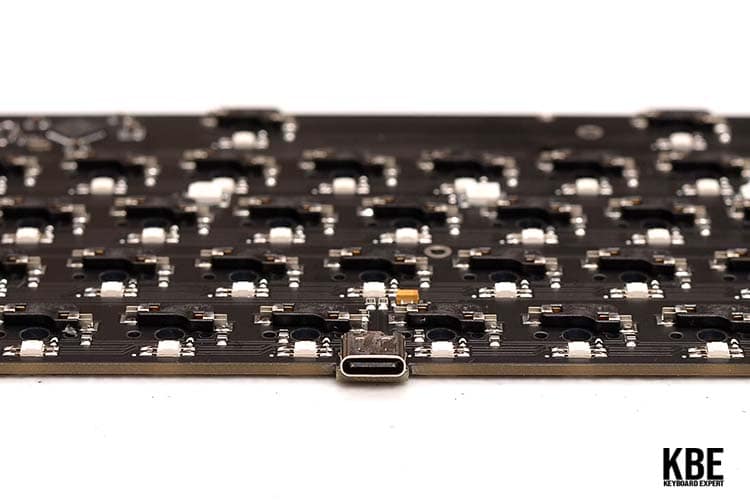
PCB or Printed Circuit Boards are used on all modern devices. This serves as the brain of these devices. It connects all the components inside the device to make them function. In our article for today, we will specifically be talking about the PCB on mechanical keyboards.
A keyboard works mainly because of the PCB inside them. This is directly connected to the computer via a connector. The signals are sent by pressing the keys and are directly sent to the computer. They will also determine the compatibility of the board through its size and layout.
Unlike in membrane keyboards, the process of building a mechanical keyboard has more things to be done. Mechanical keyboard switches are directly connected to the printed circuit board. Some may need or want to solder the switches on the PCB. If you want to know more about PCB, continue reading as we explain more about it.
What is a PCB in Mechanical Keyboards?
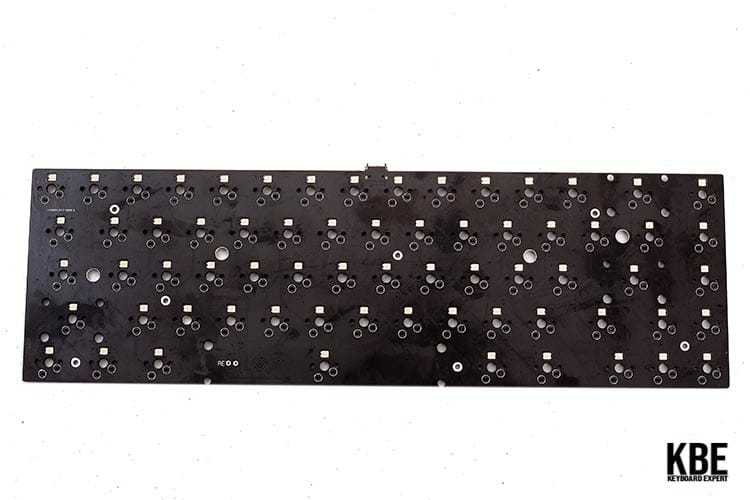
PCB or Printed Circuit Board is basically the brain of the keyboard. The printed circuit board sends signals to the computer for the command and keystrokes that we press when typing. Without this part, controlling the computer would not be possible.
The PCB on Mechanical Keyboards is what controls the whole keyboard. A lot of people building their own keyboards will see how this PCB looks. Before setting up the keyboard, it is suggested to test whether the PCB is working well. This will save time and effort building your keyboard.
Using a metallic object that can act as a switch, gently touch the PCB with the metallic object that will connect the contact points. With this process, you will be able to see if all the keys on the board are working.
Additionally, the size of the PCB that you will get will reflect the size of the whole keyboard. Keyboard comes in different sizes, the full-sized or 100%, TKL or Tenkeyless, 75%, 65%,60%, and 40%. You can learn more about this by checking our article about keyboard sizes.
What are the Features of a PCB?
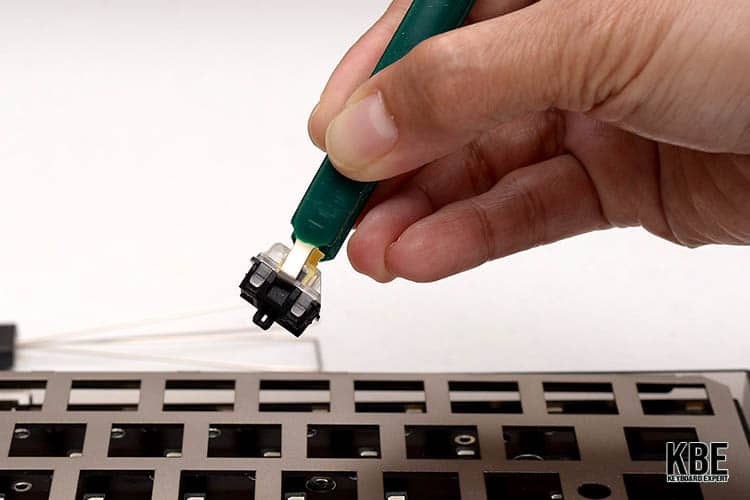
PCB on keyboards has the same main function as the circuit boards on other devices. They connect electric components together to function. And its main function is to send the signals made by pressing the keys.
In building keyboards, there are features that you can add. After checking the PCB, the next thing to do is clipping or screwing the stabilizer to the PCB. After this, you will either hot-swap or solder all the switches on the PCB. One thing to remember before soldering your switches is that you can only remove or change switches if you desolder them, which takes time and has the potential to damage your PCB.
After installing the switches and keycaps, you can again check if all the keys on the PCB are working. This is to see if you were able to properly install the switches. You can download software from websites like VIA and QMK to map key layouts.
The layout of the PCB determines the layout of your computer. Also, since it is the brain of the keyboard, you will also find the terminals on the PCB. This is also where you will be plugging the connectors onto your PC.
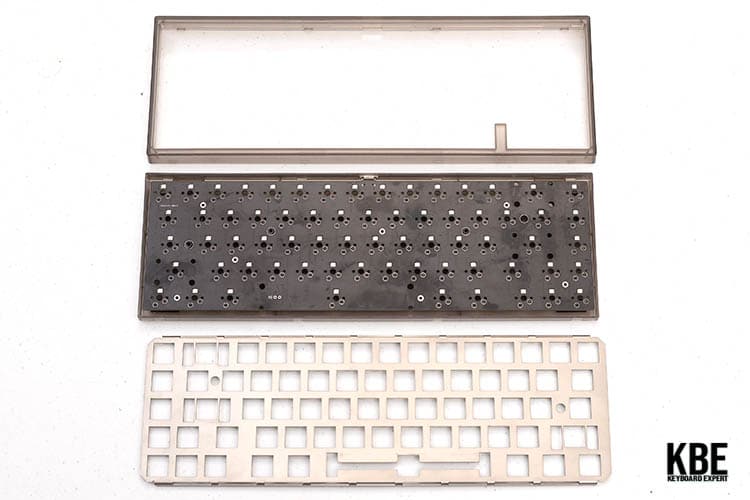
For additional aesthetics, you can add an under-glow light, which of course, would look good on keyboards with a more transparent case. You can also add a backlight for your keycaps to light up. The stabilizers to use will also be determined by your PCB, depending on the layout and the size.
There are also different types of mounting the PCB on your keyboard. A popular way of mounting is Top Mount, where the PCB is placed under, and the tray is secured to the top of the case. The bottom Mount is similar to Top Mount but is secured on the bottom of the case. While in Tray Mount, the PCB is secured at the bottom of the board with screws.
Other Mounting ways are the Sandwich Mount, Gasket Mount, and Integrated Plate. In Sandwich Mount, the plate goes through the case and is secured together with the top frame. Gasket Mount uses a cushion material for the plate. On the other hand, the Integrated Plate is an integrated plate and top frame made as a single piece.
Where to Buy Custom Keyboard PCB
In the expanding population of keyboard enthusiasts also came the expansion of the keyboard market. There are several stores where you can buy parts for your custom keyboard. You can get different parts from different brands and build them.
Markets nowadays are very easy to find with the help of advanced technology. Many online websites offer different items, where you can also find parts for your keyboard. You can also check websites that specifically sell keyboard parts, such as Cannonkeys and KBDFans.
When purchasing a custom keyboard, it is important to know the size and layout of the keyboard that you want to get. This is to know the compatibility of the parts that you will get.
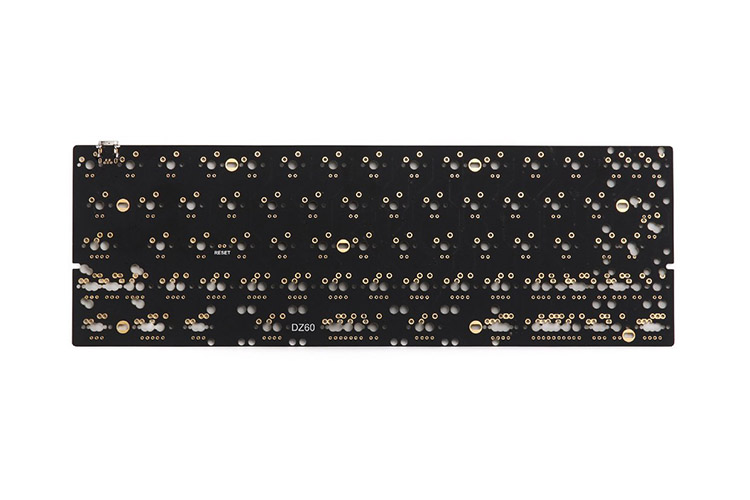
You can purchase a kit that goes together or purchase the parts individually. It is important to know that some PCBs are not compatible with the board or the case itself. Some of the PCBs that are compatible with many keyboards are the KBD67 MKII, DZ60, and DZ65.
However, there are also kits that already include the PCB and are usually not compatible with other kits. Most 65%, TKL, and higher-end keyboards kits usually have different layouts and may not be compatible with other keyboards. An example of this is the Savage65, which uses a proprietary PCB.
You can also get a custom design for your PCB exclusively for you by asking a manufacturer to do it. However, this is not practical and may cost you a lot. You will also be having a hard time selling it in the future in case you plan to.
We suggest buying a complete kit for your custom keyboard. This will save both your time and expenses. There are also different layouts of keyboards that you can purchase, such as the ergo, split, and ortho. If you are interested in such, get the whole set of keyboards.
Can You Make Your Own PCB?
Can you make your own PCB? The answer to this question is yes. However, doing so will not be easy. It will take a lot of time, but if you enjoy doing this kind of thing, then go for it. There are websites that post guides in building PCBs.
If you are just new to the hobby or are unsure that you can make your own PCB, we suggest simply buying a premade PCB for your keyboard. This is not a common practice and is not a practical thing to do. You will spend not only a lot of time but also your money.
The tools and equipment needed for making your own PCB can not be randomly found in our home. You will have to purchase the equipment and tools needed. You will also need to learn how to do it properly to make sure it works well.

The KBE team is dedicated to sharing our knowledge and creating useful resources about computer keyboards. This article was written as a team collaboration, combining our knowledge and years of experience using, building and modding keyboards. Meet the team here.
