People spend a lot of money on peripherals such as mechanical keyboards. However, one thing that most users often neglect is to clean them. This comes as a huge surprise since cleaning mechanical keyboards is a breeze since all you need to do is take off the keycaps.
To take off your keycaps, all you need is a keycap puller. Most brands already include one right in the box. However, we recommend using a wire keycap puller to avoid damaging your keycaps. Once you have your tools, simply use your keycap puller to gently pull off the keycaps.
Aside from cleaning, there are many other reasons you should know how to remove your keycaps. In this article, we will be going through everything you need to know when removing your keycaps.
What are Keycaps?

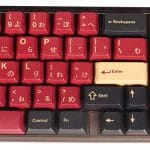
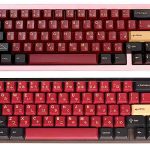
Keycaps are the plastic caps that cover each key switch and make up most of a keyboard’s aesthetics. Unlike regular membrane keyboards, mechanical keyboard keycaps are highly customizable, and there are tons of different brands and designs to choose from.
The only thing you have to note is that not all keycap sets are compatible with all keyboards. Some keyboards, such as 65%, 75%, and Arisu layout keyboards, have an odd layout. This is why it is essential to do your research first to prevent compatibility issues with your keyboards.
In terms of their construction, keycaps are generally made of ABS plastic and PBT plastic. Some special keycaps, known as artisan keycaps, can also be made of resin and are considerably more expensive than standard keycap sets.
Why Do You Need To Remove Keycaps?
There are various reasons why we would need to remove the keycaps from a keyboard. These include, but are not limited to the following;
Maintenance
Mechanical keyboards are already known for being durable compared to the cheaper ones, which gives us more reason to make sure it’s cleaned occasionally. And removing your keycaps is the most effective method to give your keyboard a deep clean. This method also extends the life and appearance of your keyboard.
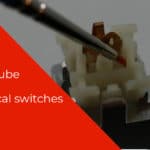
Replacing Switches
Some keyboards have a hot-swap PCB. And as its name suggests, these keyboards allow you to swap out the switches without desoldering them. Of course, you cannot remove the switches without removing the keycaps first.
Personalization
Having Personalized keyboards became a trend with a lot of variety to choose from, which, of course, would require you to remove your keycap—especially gamers who want to distinguish their commonly used keys better. Not only can you get keycaps with a different feel, but you can also find them in numerous colors, fonts, and pictures or 3D- printed shapes.
Best Tools for Removing Keycaps
Many of us might have already been advised by others, or by what we saw in many videos, to use different house tools or even our hands in removing keycaps. While it is true that it is easily accessible in times of need, the chance of damaging your keyboard is high. In contrast, keycaps pullers are a risk and hassle-free method and preferred tool by mechanical keyboard pros and manufacturers.
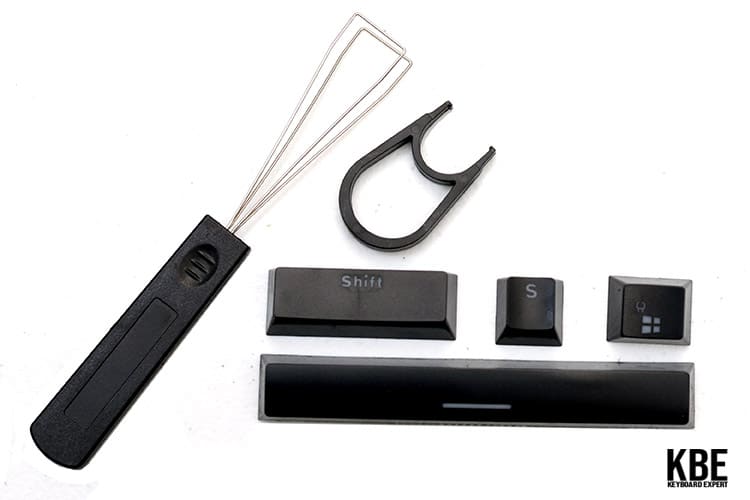
Keycaps puller is a necessary tool for properly maintaining a mechanical keyboard and replacing its keys. They come with different designs and are specifically built to remove keycaps without damage to the keyboard or caps themselves. There are two basic types of keycaps puller: plastic and metal, further discussed below.
Wired Keycap Puller vs. Plastic Ring Keycap Puller
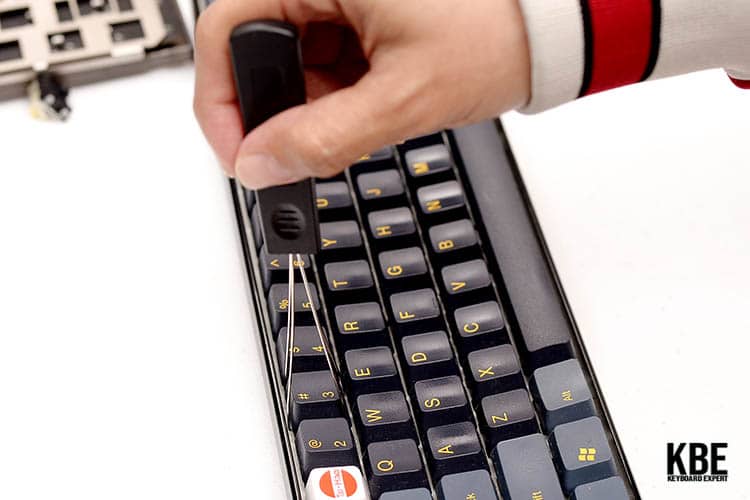
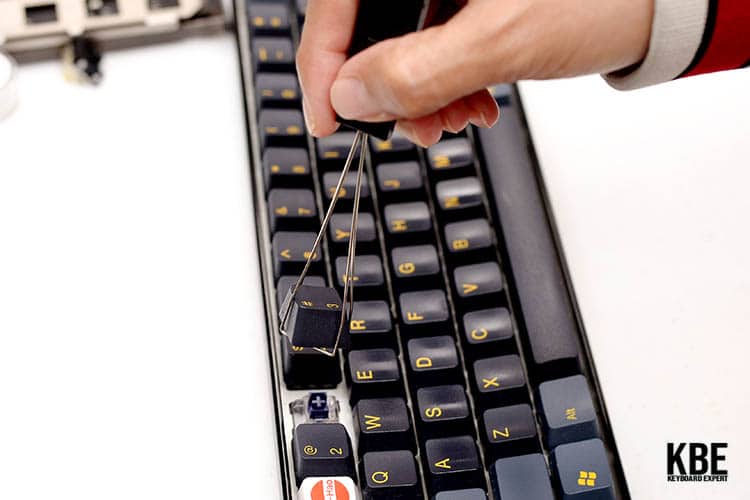
The wired keycap puller essentially has two wires that protrude from a handle and act as two hooks to go around and under the keycap. The wires are very thin that easily fit anywhere and will not damage the inside edges of the keyboard. Also, it lasts longer, has compatibility with a variety of mechanical and non-mechanical keyboards, and has the ability to remove up to 3 keys at a time.
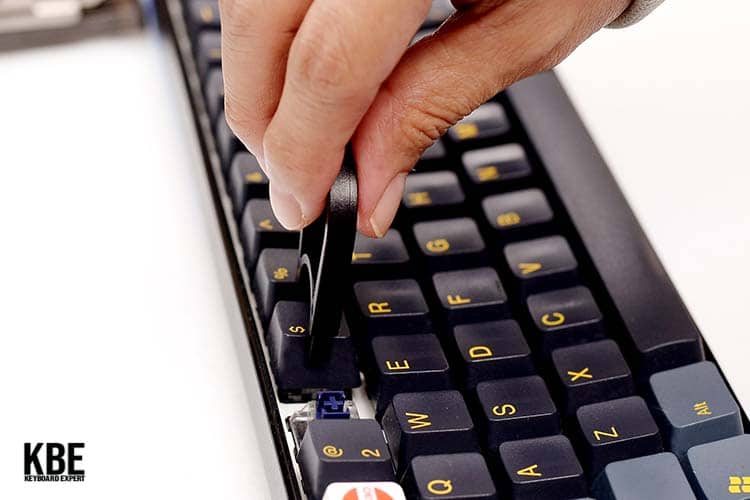
In contrast to the wired keycap puller, a plastic keycap puller is cheaper, and normally manufacturers include this with their unit. Its characteristics are that it has two prongs that protrude from a handle (usually a ring) and have two teeth at the end. The gap between the two teeth is tighter than the lateral size of the keycap, so it runs along the side of the keycap until the teeth can wrap around the bottom.
Although, the disadvantage of the plastic keycap puller is that the clamping of the two prongs can damage the sides of the keycaps with marks and scratches. The plastic is constantly bending in and out, which will eventually snap. Another problem is that they can potentially damage the inside edges of the top shell, especially cosmetically modified keyboards like the ones that have been painted.
If you have an entry-level keyboard or keycaps that are not valuable to you, it is fine to use plastic keycap pullers. However, when dealing with more expensive keyboards and keycaps, wire keycap pullers are a must.
Apart from saving your keyboard’s life during the key removal process, a keyboard key puller also speeds up the removal process and easily replaces your worn-out keys. Again, a new mechanical keyboard is far more expensive than a keyboard keycap puller.
How to Remove Mechanical Keyboard Keycaps
When removing the keycaps from the keyboard, it is important to unplug the keyboard, especially those that have LED lights as to avoid damage to your eyes. Listed below are the steps to properly remove keycaps using your keycap puller regardless of what type. Always start with the smaller keycaps as bigger keys, such as the spacebar, as these keys have a metal support bar that can easily be broken.
- First, using the keycap puller, make sure the two prongs are securely in place beneath the keys.
- Then, using your other hand, hold down the keyboard firmly in place.
- Lastly, gently pull it up, and the key pops right out.
How To Remove Longer Keys
When removing keycaps, you will notice that some longer keys (spacebar, enter, backspace, and the two shift keys) are considerably harder to remove. To remove these keycaps, first, make sure that you have removed all surrounding keys. Once you have done that, you can use your hands to pull both ends of the keycap gently. Be careful to prevent any issues with your keycap or your stabilizers.
The KBE team is dedicated to sharing our knowledge and creating useful resources about computer keyboards. This article was written as a team collaboration, combining our knowledge and years of experience using, building and modding keyboards. Meet the team here.