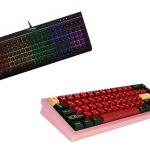
Switch lubing has gained massive popularity in recent years. It is known to improve the smoothness, feel, and sound of both linear switches and tactile switches. If you are wondering on how this process is done, then you have come to the right place.
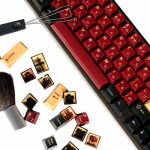
Lubing switches is a simple but time consuming process. All you need is a switch opener, your preferred lube, and a paintbrush. You will need to lube the housing and stem on all of your switches. The amount of lube and areas to be lubed will depend on what type of switches you have.
In this article, we will walk you through the specific steps on how to lube your switches. We will be telling you all the items you will be needing as well as the necessary steps to follow.
Why Lube Switches?
Lubing your keyboard brings so many benefits to an already good mechanical keyboard. Suppose you want to do something about the clicky sound your switches make. Whether it is a Linear or Clicky switch, lubing will lessen the current noise it makes.
Another addition is the smoothness the switches acquire after being lubricated. They feel more comfortable and satisfying to use. Another upside is the lengthened lifespan of the switches. Adding lube helps keep things working smoothly in there and prevents any rough actuations that could damage anything inside if the keys are pressed in a hard way.
What You Need
- A Switch opener or a normal Flat Head Screwdriver.
- Lubricant of your choice.
- A small brush to brush the lubricant on the switch.
How to Lube Your Switches
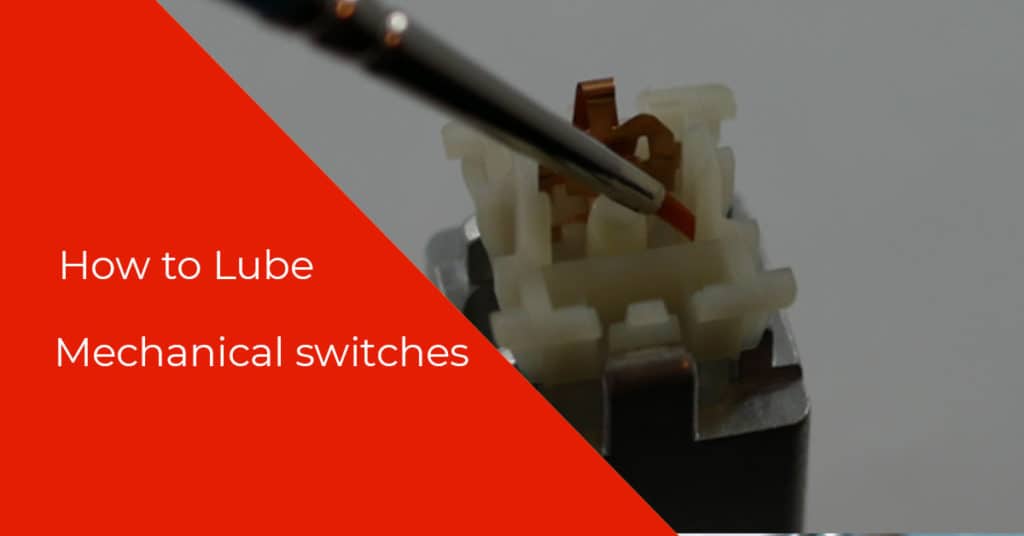
To do this, you need to open every switch because we are working inside them. You can use specialized devices designed to open up switches without a hassle, or you can use a flat head screwdriver to separate the top and bottom of a switch carefully.
Once you have your switch open and have a tool to brush your lube with (a small painting brush is perfect for this job), begin by lubing the slider columns, making sure there is enough in every surface inside of it, try to not go overboard with how much lube you use, start small, then if more is needed to apply.
After that, we move on to the spring, brush both ends with lube and place it back onto the previously lubed piece. Then we go to the stem, make sure there is a tiny amount of lube on your tool and go ahead and lightly brush the sides of the stem, then brush the front (brush the legs if your switch is Linear, but don’t if it’s Tactile or Clicky), then lightly coat the back, and finally lube the bottom edges of the stem.
After that, just reassemble, and you will have your first lubed switch done! Keep going with the rest and always make sure to start slow and small on the lube, and if you see a need for more, you can easily add a little more.
Now you know all you will need to lube your whole set of switches, so get to work and enjoy your new experience!
The KBE team is dedicated to sharing our knowledge and creating useful resources about computer keyboards. This article was written as a team collaboration, combining our knowledge and years of experience using, building and modding keyboards. Meet the team here.