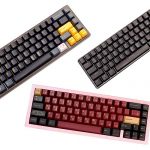
Getting into keyboards as a hobby means introducing yourself to many ways to customize your typing experience. Whether you’re getting a prebuilt keyboard or a custom kit, modifying your keyboard (dubbed in the community as “modding”) is one of the most basic activities for any enthusiast. And one of the easiest modifications to do to your keyboard is the famed PE Foam mod.
The PE Foam keyboard mod is done by placing polyethylene foam (commonly known as packing sheet) between your keyboard’s switches and PCB. This mod gives the signature “poppy” or “creamy” sound keyboard enthusiasts love. PE Foam is a must-try modification if you are new to building keyboards.
Since you must install the PE Foam mod between the keyboard’s switches and PCB, it’s easy to do on hot-swap keyboards after disassembly. However, if your keyboard has soldered in switches, you will have to desolder and solder your switches back in if you try to do this mod.
If you are thinking of doing your first keyboard modification and/or looking to improve your keyboard’s sound profile, then doing the PE Foam mod is one of the best ways to go. It’s a great bang for the buck at the mere cost of 50 cents or virtually nothing at all if you have a sheet of packing foam lying around already.
In this article, we will be taking you through the ins and outs of the PE foam mod to help you decide whether or not you should do it on your keyboard too.
What is the PE Foam Mod?
The PE foam mod rose in popularity alongside the Tempest Tape Mod to improve board acoustics. It makes use of a thin layer of foam called polyethylene foam that is commonly used in packing and shipping fragile items. Like the Tempest tape mod, which uses painter’s or masking tape on the back of a keyboard’s PCB, the PE foam mod’s accessible material and relatively easy-to-do process lent to its highly raved ratings among enthusiasts in the community.
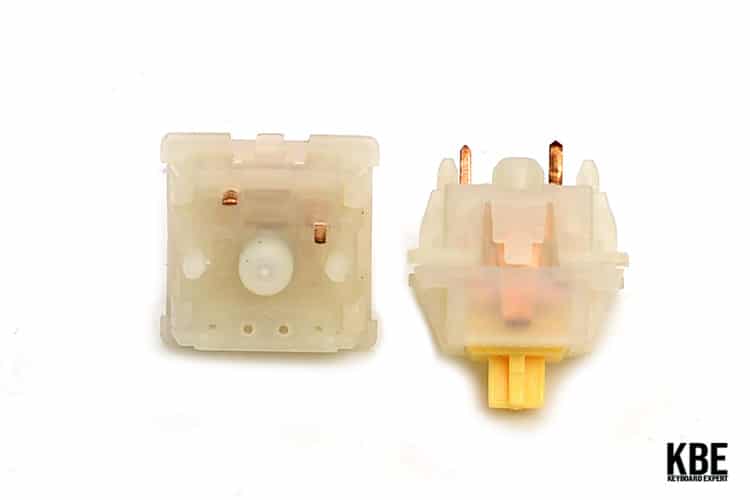
The thin foam is placed between the switches and the PCB of a keyboard, acting as a cushion for the switches. This allows for a slightly better and more premium typing experience. The mod lets users achieve a softer feel with every keystroke.
It also effectively changes the board’s overall sound, especially the switches’ modulation. Some users of this mod report that their switches sounded lower in pitch after modding their keyboard, while others report the opposite after trying out the mod.
What the PE foam mod does is allow mid-range frequencies of the switch to take over both lower and higher frequencies, resulting in a more stable sound experience, especially if you’re using multiple kinds of switches on a single board.
The Origin of the PE Foam Mod
After the release of the limited and sought-after Jelly Epoch keyboard by Owlabs, keyboard enthusiasts were on a quest to investigate what made its signature marbly sound. Many users noted that its unique use of a thin polyethylene or PE foam between the keyboard’s plate and PCB contributed greatly to its well-praised acoustics.
Builders of the Jelly Epoch noted that removing this thin foam from the build makes the board lose its great sound. The board becomes much more muted without the PE foam in between the plate and the PCB. While the community does acknowledge that other boards may have implemented the use of PE foam before the Jelly Epoch, the famous keyboard’s excellent acoustics accounted for the rise in popularity of the PE foam mod.
Reddit user u/mavsmcfc is the original poster of the PE foam mod information guide under the MechanicalKeyboards subreddit. They recounted their experience of using PE foam in addition to the case foams included in the keyboard kits they’ve bought but had since changed the way they used the foam when they saw Owlabs’ ingenious design of the Jelly Epoch.
They identified that the black foam that lays on top of the PCB and below the keyboard plate and switches is PE foam or, more commonly known, thin packing foam. They used a “paper-thin” width of PE foam with a width of about 0.5 millimeters and likewise placed it between their keyboard plate and PCB. Then, they had re-installed their switches and re-assembled the whole kit. They had successfully recreated a similar sound experience to the “poppy” Jelly Epoch keyboard.
Many keyboard hobbyists, especially followers and lovers of the Jelly Epoch board, have then imitated the use of PE foam between the keyboard’s switches, plate, and PCB to modify their keyboard’s acoustics.
How Do You Do the PE Foam Mod?
If the previous discussion has convinced you and you are eager to take apart your keyboard, then look no further. We will take you into a step-by-step guide to do the PE foam mod efficiently.
Take Apart Your Keyboard
To do the PE foam mod, you must access your keyboard’s switches, plate, and PCB. To gain access, you must take apart the keyboard PCB and plate from its case by unscrewing where it is affixed. The places and sizes of the screws may vary for every board, so use your keyboard’s respective manual and the appropriate size screwdriver. Be careful so as not to damage any screw or keyboard part.
Remove the Switches from the PCB
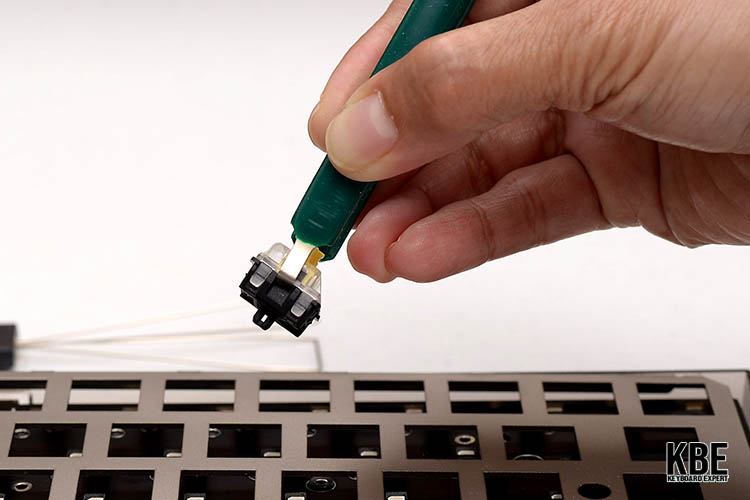
By now, you may inspect if your keyboard’s PCB is hot-swapped or solder-only. Most people may have already noted this feature when they bought their keyboard, but on the off-chance that you’re not sure, you may gently tug on a switch with a switch puller or a dull pair of tweezers to see if you can remove the switch by hand.
Another pinpoint feature is that if your pre-built keyboard comes with extra switches, it is most likely a hot-swap board. For hot-swap keyboards, the process is straightforward as you only have to remove the switches by repeating the process of using a switch puller or a dull pair of tweezers.
For solder-only keyboards, you must desolder the switches one by one to separate them from the PCB. Obviously, you may skip the first two steps if you are building your first custom keyboard and have access to the plate, switches, and PCB.
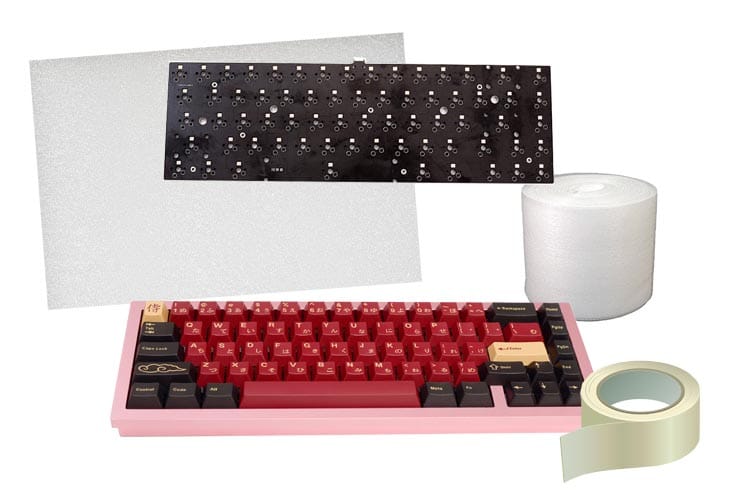
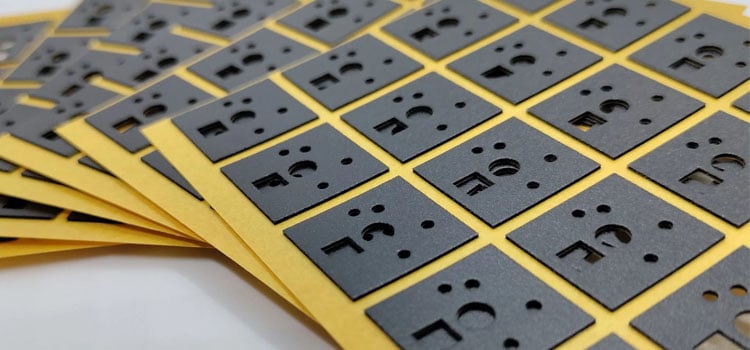
Trace the Plate on A Thin Sheet of Non-Conductive PE Foam
Tracing the plate before cutting the PE foam allows you to get the best fit possible for your keyboard and allows you to get the most out of this modification. Keep in mind that the recommended thickness for the PE foam is anything equal to or less than 0.5 millimeters.
Grab a fine marker (preferably a dry erase type, so you can erase the lines after if you’re one for aesthetics). Trace around the plate and the stabilizer-fit holes. Mark dots for where the switches’ center pin (the largest one) will lay to ease switch placement.
Cut Around the Lines with Scissors or an Exacto Knife.
The best tool for this step is an Exacto knife so that you may cut accurately around your marked lines, but scissors would do in a pinch.
Place the Pre-Cut PE Foam Below the Keyboard Plate and Above the PCB, then Reinstall the Switches
The PE foam should sit comfortably between the plate and the PCB. Reinstalling the switches depends on whether you’ve got a hot-swap or a solder-only keyboard PCB, but, regardless, you should be careful in installing the switches to avoid bent pins. (If you somehow encounter this problem though, a quick fix would be gently straightening the pin with tweezers.)
Some keyboard hobbyist shops sell pre-cut PE foam for specific keyboard models, so be sure to be on the lookout if you want to avoid the hassle of acquiring and cutting your own PE foam.
Finally, Reassemble the keyboard and enjoy your improved acoustics!
What are the Downsides of Doing the PE Foam Mod?
While the PE foam mod has its perks, some users have also voiced out dislike of the mod for a few reasons. First, some users feel the PE foam mode takes away from the keyboard’s aesthetics since the PE foam will likely be visible on clear acrylic boards or clear keyboard plates.
Second, like any other keyboard modification, it carries the risk of damaging your keyboard and its parts. The switches are one of the most easily damaged parts because of their thin metal pins, which may be bent or broken when removing from or installing on the keyboard.
Third, this mod’s highly acclaimed sound profile may make switches sound the same. This can be a dealbreaker for many enthusiasts who love the unique sound signatures for each switch. But, for little cost and little effort, the stark improvement of the PE foam mod is surely worth the try.
PE Foam Mod FAQs
So, you’re thinking about doing the mod, but you still have a few questions left before you’re fully convinced to try it out. Well, we’re here to answer these for you.
Can You Apply the PE Foam Mod To Pre-Built Keyboards?
Yes. The PE foam mod may be done to any keyboard, even prebuilt ones, so long as you can take apart the keyboard and access the switches and the PCB.
Can You Apply the PE Foam Mod To Keyboards With Solder-Only PCBs?
Yes. While it may take much more time and effort, you may do the PE foam mod to keyboards with solder-only PCBs. Just make sure to use extra caution as the heat of the soldering iron can melt the foam and cause connectivity issues between the switch and the PCB.
Can You Apply the PE Foam To Keyboard Cases?
Yes. While it is unconventional, PE foam may also be used to dampen sound in keyboard cases. In this case, though, it is much better to use a thicker sheet in order to adequately improve upon a keyboard case’s hollowness.
Finally, Should You Apply the PE Foam Mod To Your Keyboard?
As one of the cheapest modifications in the keyboard hobby, the PE foam mod is worth trying. It can significantly improve the typing sound and feel of budget boards, especially if you’re looking for that wet, poppy sound that is the signature of the Jelly Epoch keyboard. You can easily remove it if you end up disliking it, especially in keyboards with hot-swap PCBs.